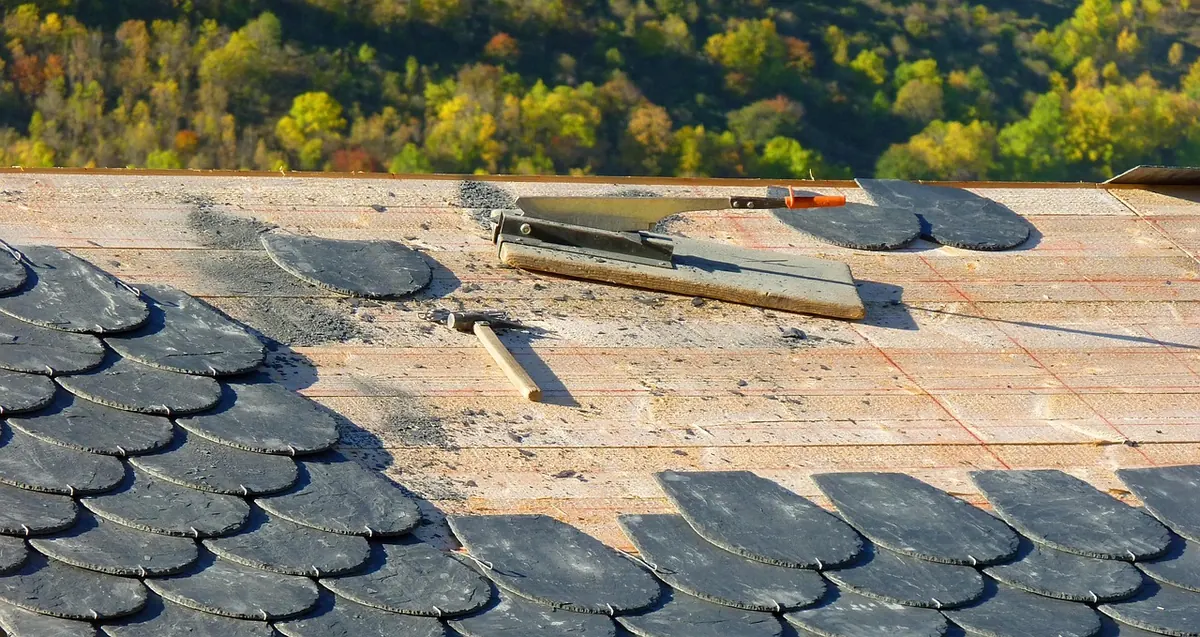
Seven Common Mistakes When Replacing Slipped or Broken Slates
A slipped slate looks like a ten-minute job, but wrong nails, mismatched sizes and torn underlay turn a...

By the time the first hard frost lands, most winter roof damage has already been decided. Water sitting in a blocked gutter freezes, expands, and quietly prises apart the joint it has been resting in. A slate that has been hanging on a single corroded nail since August rarely survives the first proper gale. The reassuring part is that nearly all of it is visible now — from the ground with binoculars, from a ladder, and from inside the loft with a torch.
Work through it in this order: drainage first, then the joints that keep water out, then the slates themselves, then ventilation. An afternoon spent now is worth a great deal more than a January call-out.
Start with drainage, because everything else depends on it. A gutter is not a decorative strip; it is the part of the roof that decides where several hundred litres of November rain ends up. When it blocks, that water goes into the fascia, the wall and the foundation instead.
The usual culprits are leaves matted into a plug at the outlet, moss and grit washed down off the slates, and — at hopper heads, where two runs meet — a mess of everything at once. Clear it out by hand, wearing gloves, and put the debris in a bag rather than flicking it onto the path.
Then test the flow with a hose on a dry day. Watch where the water actually goes. A downpipe that gurgles and drains slowly is usually blocked at the shoe or in the gully at the bottom, not at the top. While you are up there, check that the gutter runs with a gentle fall towards the outlet and that the brackets are holding it firmly. Sagging runs and weeping joints will only get worse once the freeze-thaw cycle starts.
Flashings do the hardest work on any roof. These are the lead or copper strips sealing the junctions where slates meet a wall, a chimney stack or a dormer, and they take the full force of wind-driven rain. Look for lifted edges, splits, and mortar fillets that have cracked away from the brickwork. On stepped flashings, each individual soaker should still sit under the slate above and over the slate below — if any have slipped out of sequence, water will find the gap.
Valleys are the next priority. They collect water from two roof slopes at once, so debris gathers there, holds moisture against the slates and hides failing nails. Rake leaves and grit out by hand rather than with a pressure washer, which can force water where it should not go.
Finally, look at the mortar. Ridges, hips and chimney stacks are all bedded or pointed with it, and freeze-thaw is what kills it: water enters a hairline crack, freezes overnight, expands, and widens the crack a little further. By spring you have a row of loose lumps instead of a joint. Repointing is best done in mild, dry weather — fresh mortar and an overnight frost do not mix — so if the forecast has already turned, get the roof inspected now and book the work for a milder spell.
Slates rarely fail on their own account. The fixings do. Nails corrode, a slate slides down a few millimetres, then a few centimetres, and the slate below it no longer has anything holding it back. From ground level, look for slates sitting proud of the course above, obvious gaps, and slates that have dropped out of line near a chimney or at the eaves.
Then go into the loft in daylight and switch the torch off. Any pinhole of light is a hole in the roof. Repeat the visit during or just after heavy rain and look for damp patches on rafters, staining on the chimney breast, drips onto the insulation, or a musty smell that was not there in summer. Slipped slates below a chimney or beside a valley are the urgent ones, because that is where water concentrates.
A single slipped slate can often be secured with a slate hook or a copper tingle, and a cracked one replaced. It still needs someone who can work safely at height on a pitched surface, which is a different skill from being handy with a drill.
A cold roof needs to breathe. Warm, moist air from bathrooms, kitchens and everyday living rises into the loft, and if it cannot escape it condenses on the coldest surface it finds — often the underside of the roofing membrane, or the rafters themselves. Then it drips. Homeowners frequently report this as a leak, and understandably so.
The remedy is usually simple:
Older roofs with no underlay, or with a non-breathable one, rely on ventilation even more heavily. If you are unsure how much your roof needs, that is a sensible question for a roofer or building surveyor rather than a guess.
In most UK winters, wind causes more damage than frost. It gets under an edge, lifts, and takes a whole course of slates with it. Ridge and hip tiles are the first casualties: check for cracked or missing mortar, tiles that have shifted along the ridge, and dry-fix systems where clips or screws have gone missing.
Chimney pots and cowls deserve the same attention — a loose pot in a gale is a genuine hazard, not just a nuisance. So do aerials, satellite dishes and any solar panel mountings. Prune back overhanging branches before the wind does it for you, since a branch scraping across slates can do real damage in a single night, and check roof windows for sound hinges and intact seals.
A slate roof is not a walking surface, and wet or frosty slates are treacherous. Work from a ladder with a second person present, or leave it to a roofer with the right access equipment and public liability insurance. Anything above a single storey, or anything involving the ridge, is best passed on.
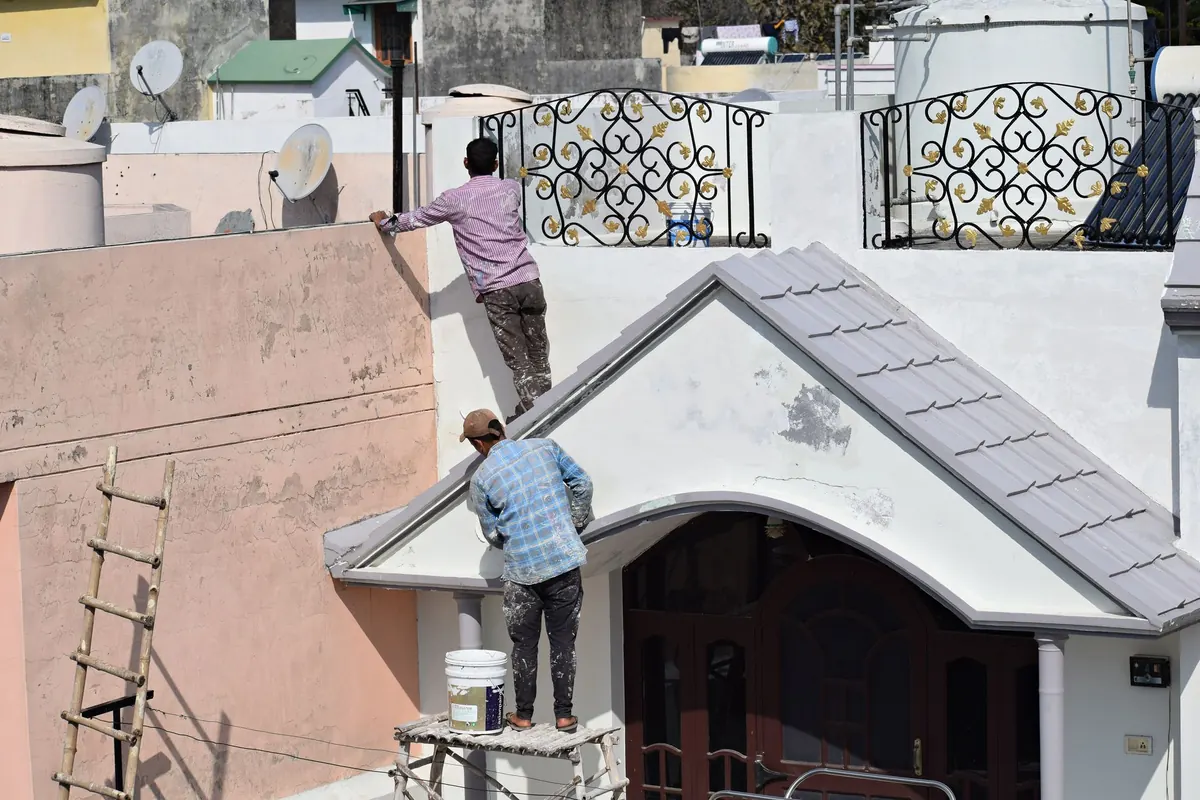
Photo: Rajesh S Balouria / Pexels
A slipped slate looks like a ten-minute job, but wrong nails, mismatched sizes and torn underlay turn a...
A month-by-month routine for inspecting a slate roof from the ground, spotting slipped slates and blocked...
A practical guide to slate roof detailing — mortar-bedded and dry-fix ridges, hip irons and trays, lead...